MIDI Jack Installation
Installation: Step By Step
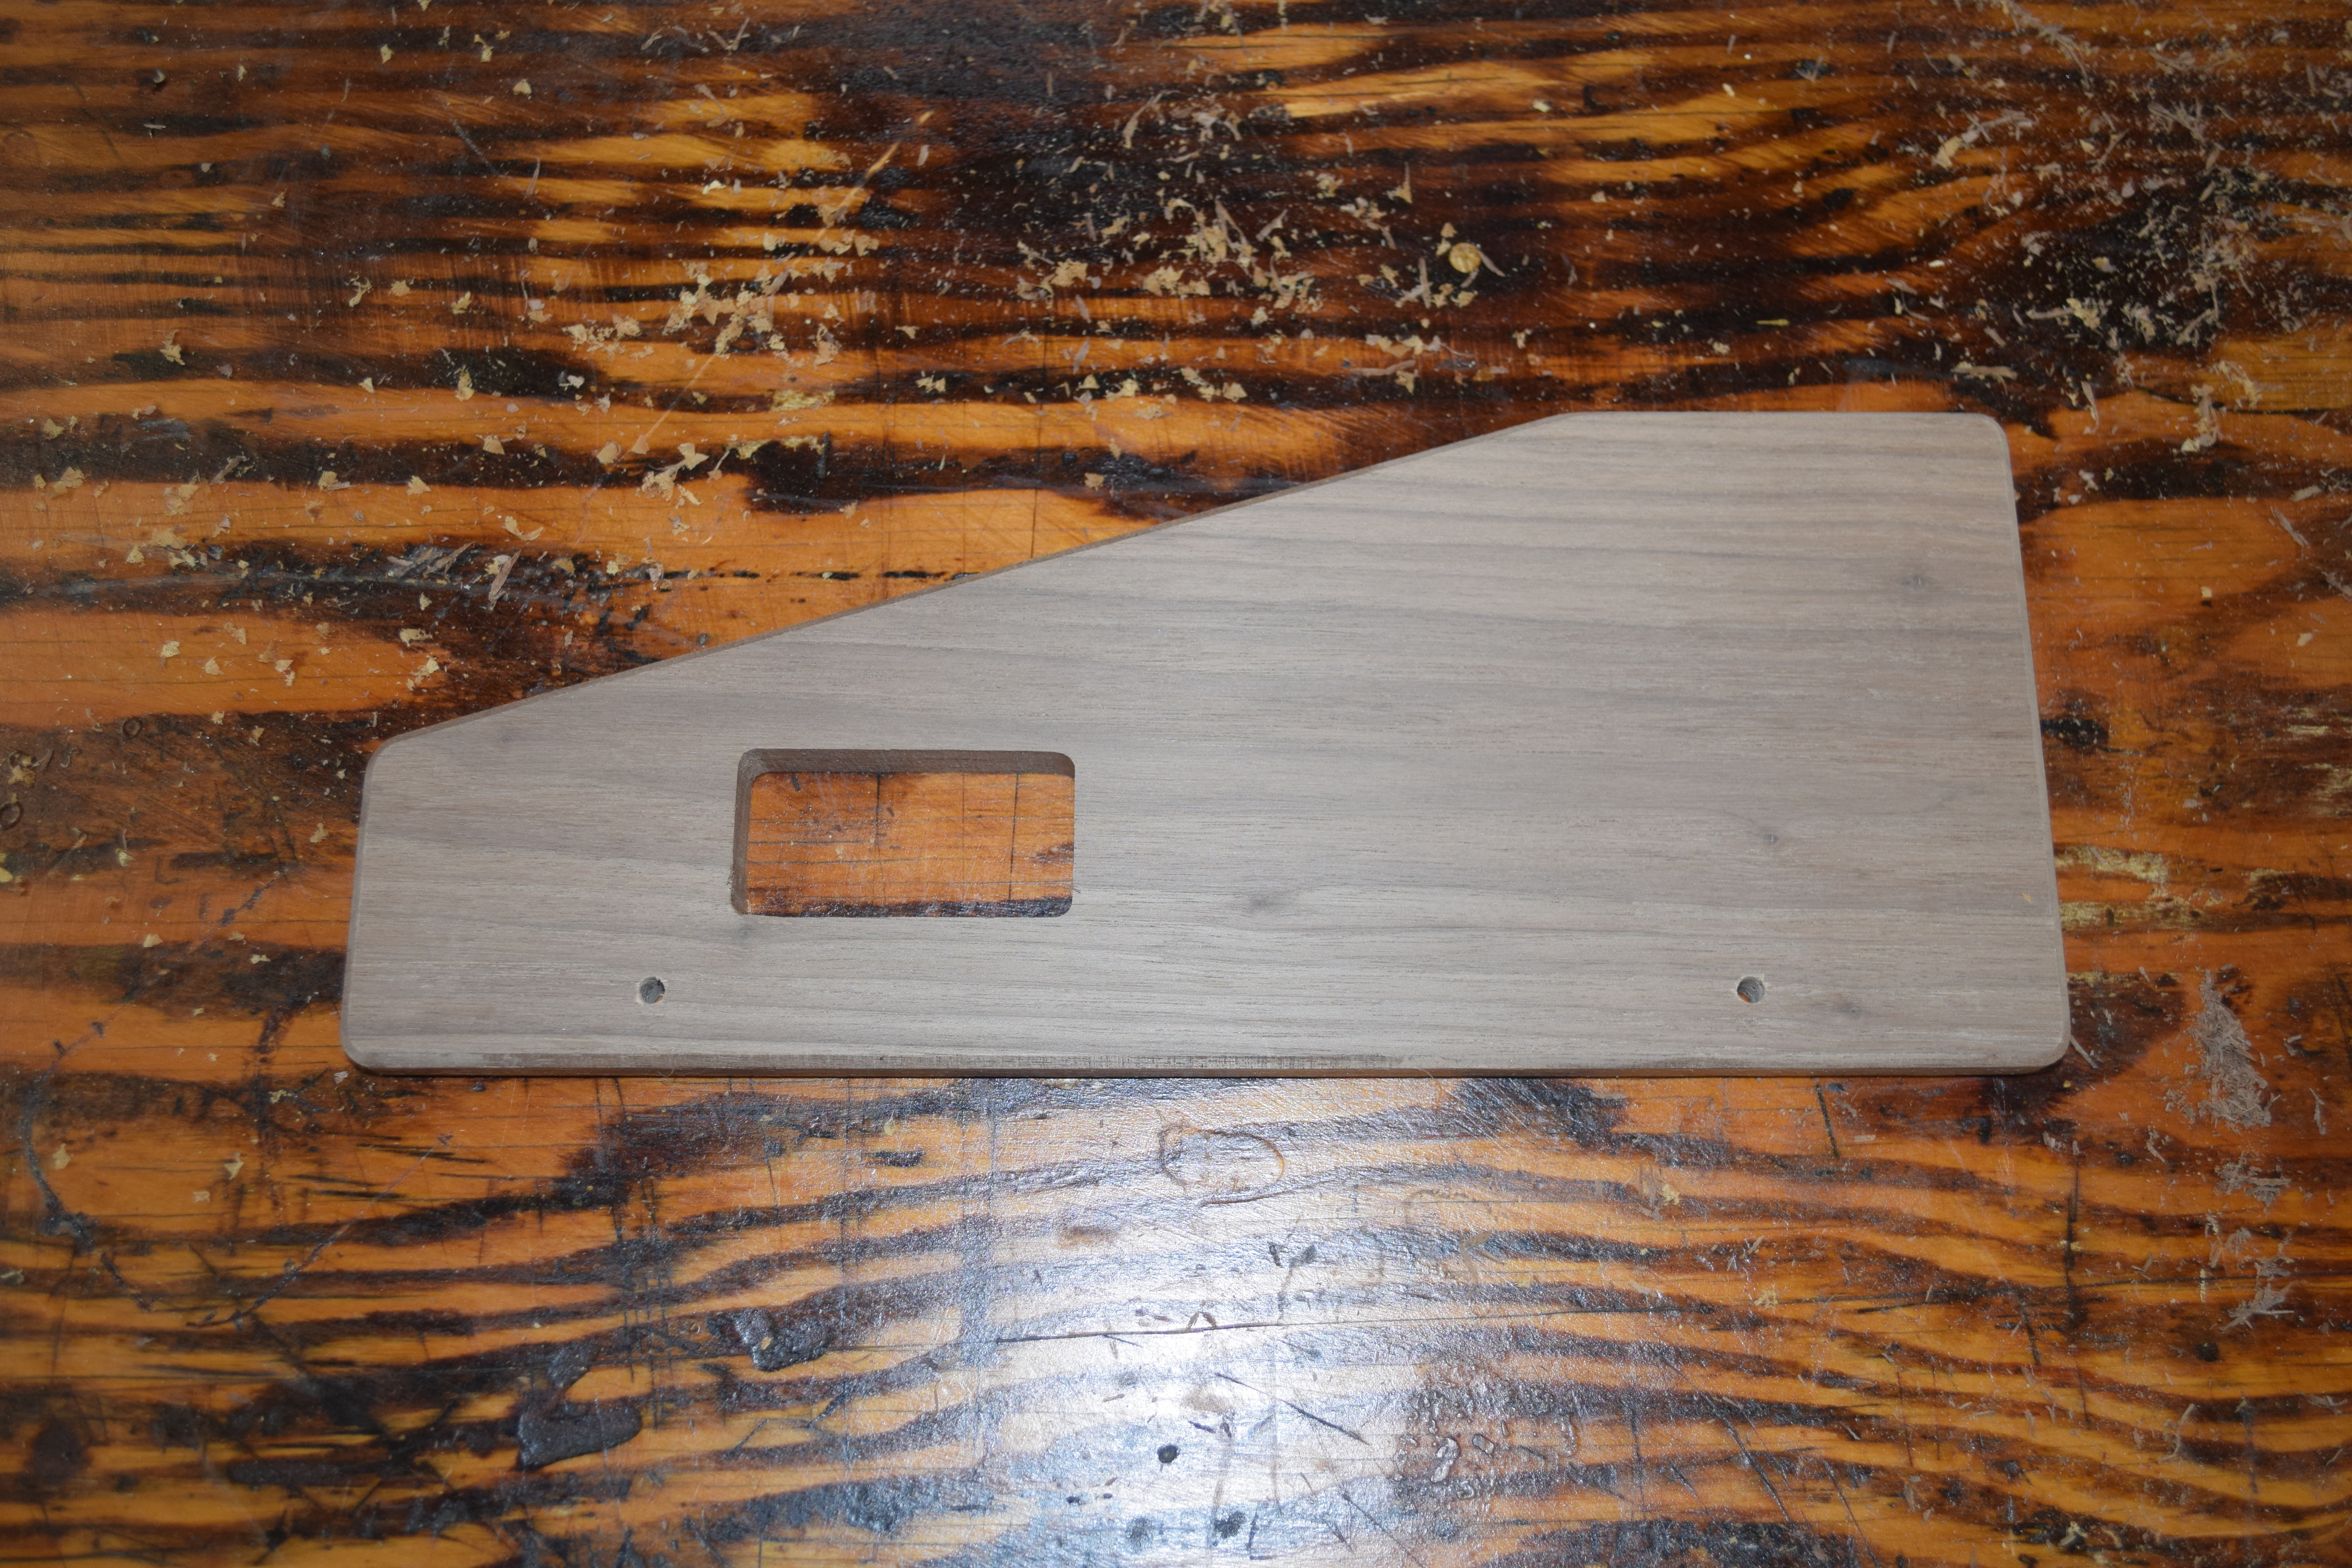
- Remove the drum machine right side panel by removing the two screws.
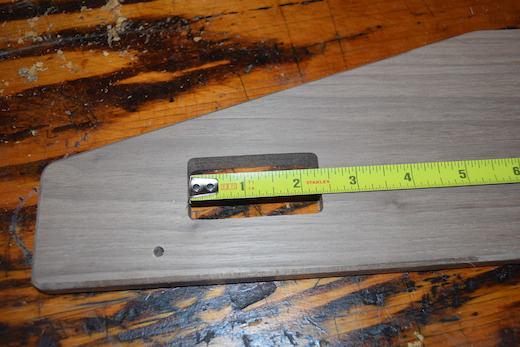
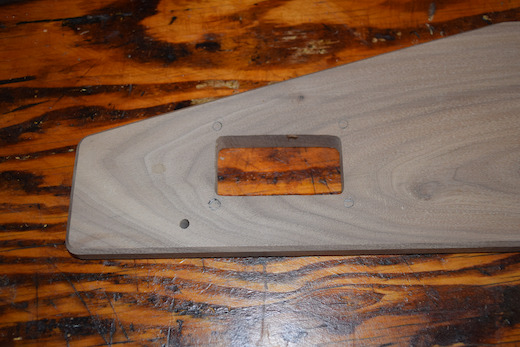
- Measure and mark a rectangle for a cutout. You can make the cutout using a router, drill
and/or a jigsaw.

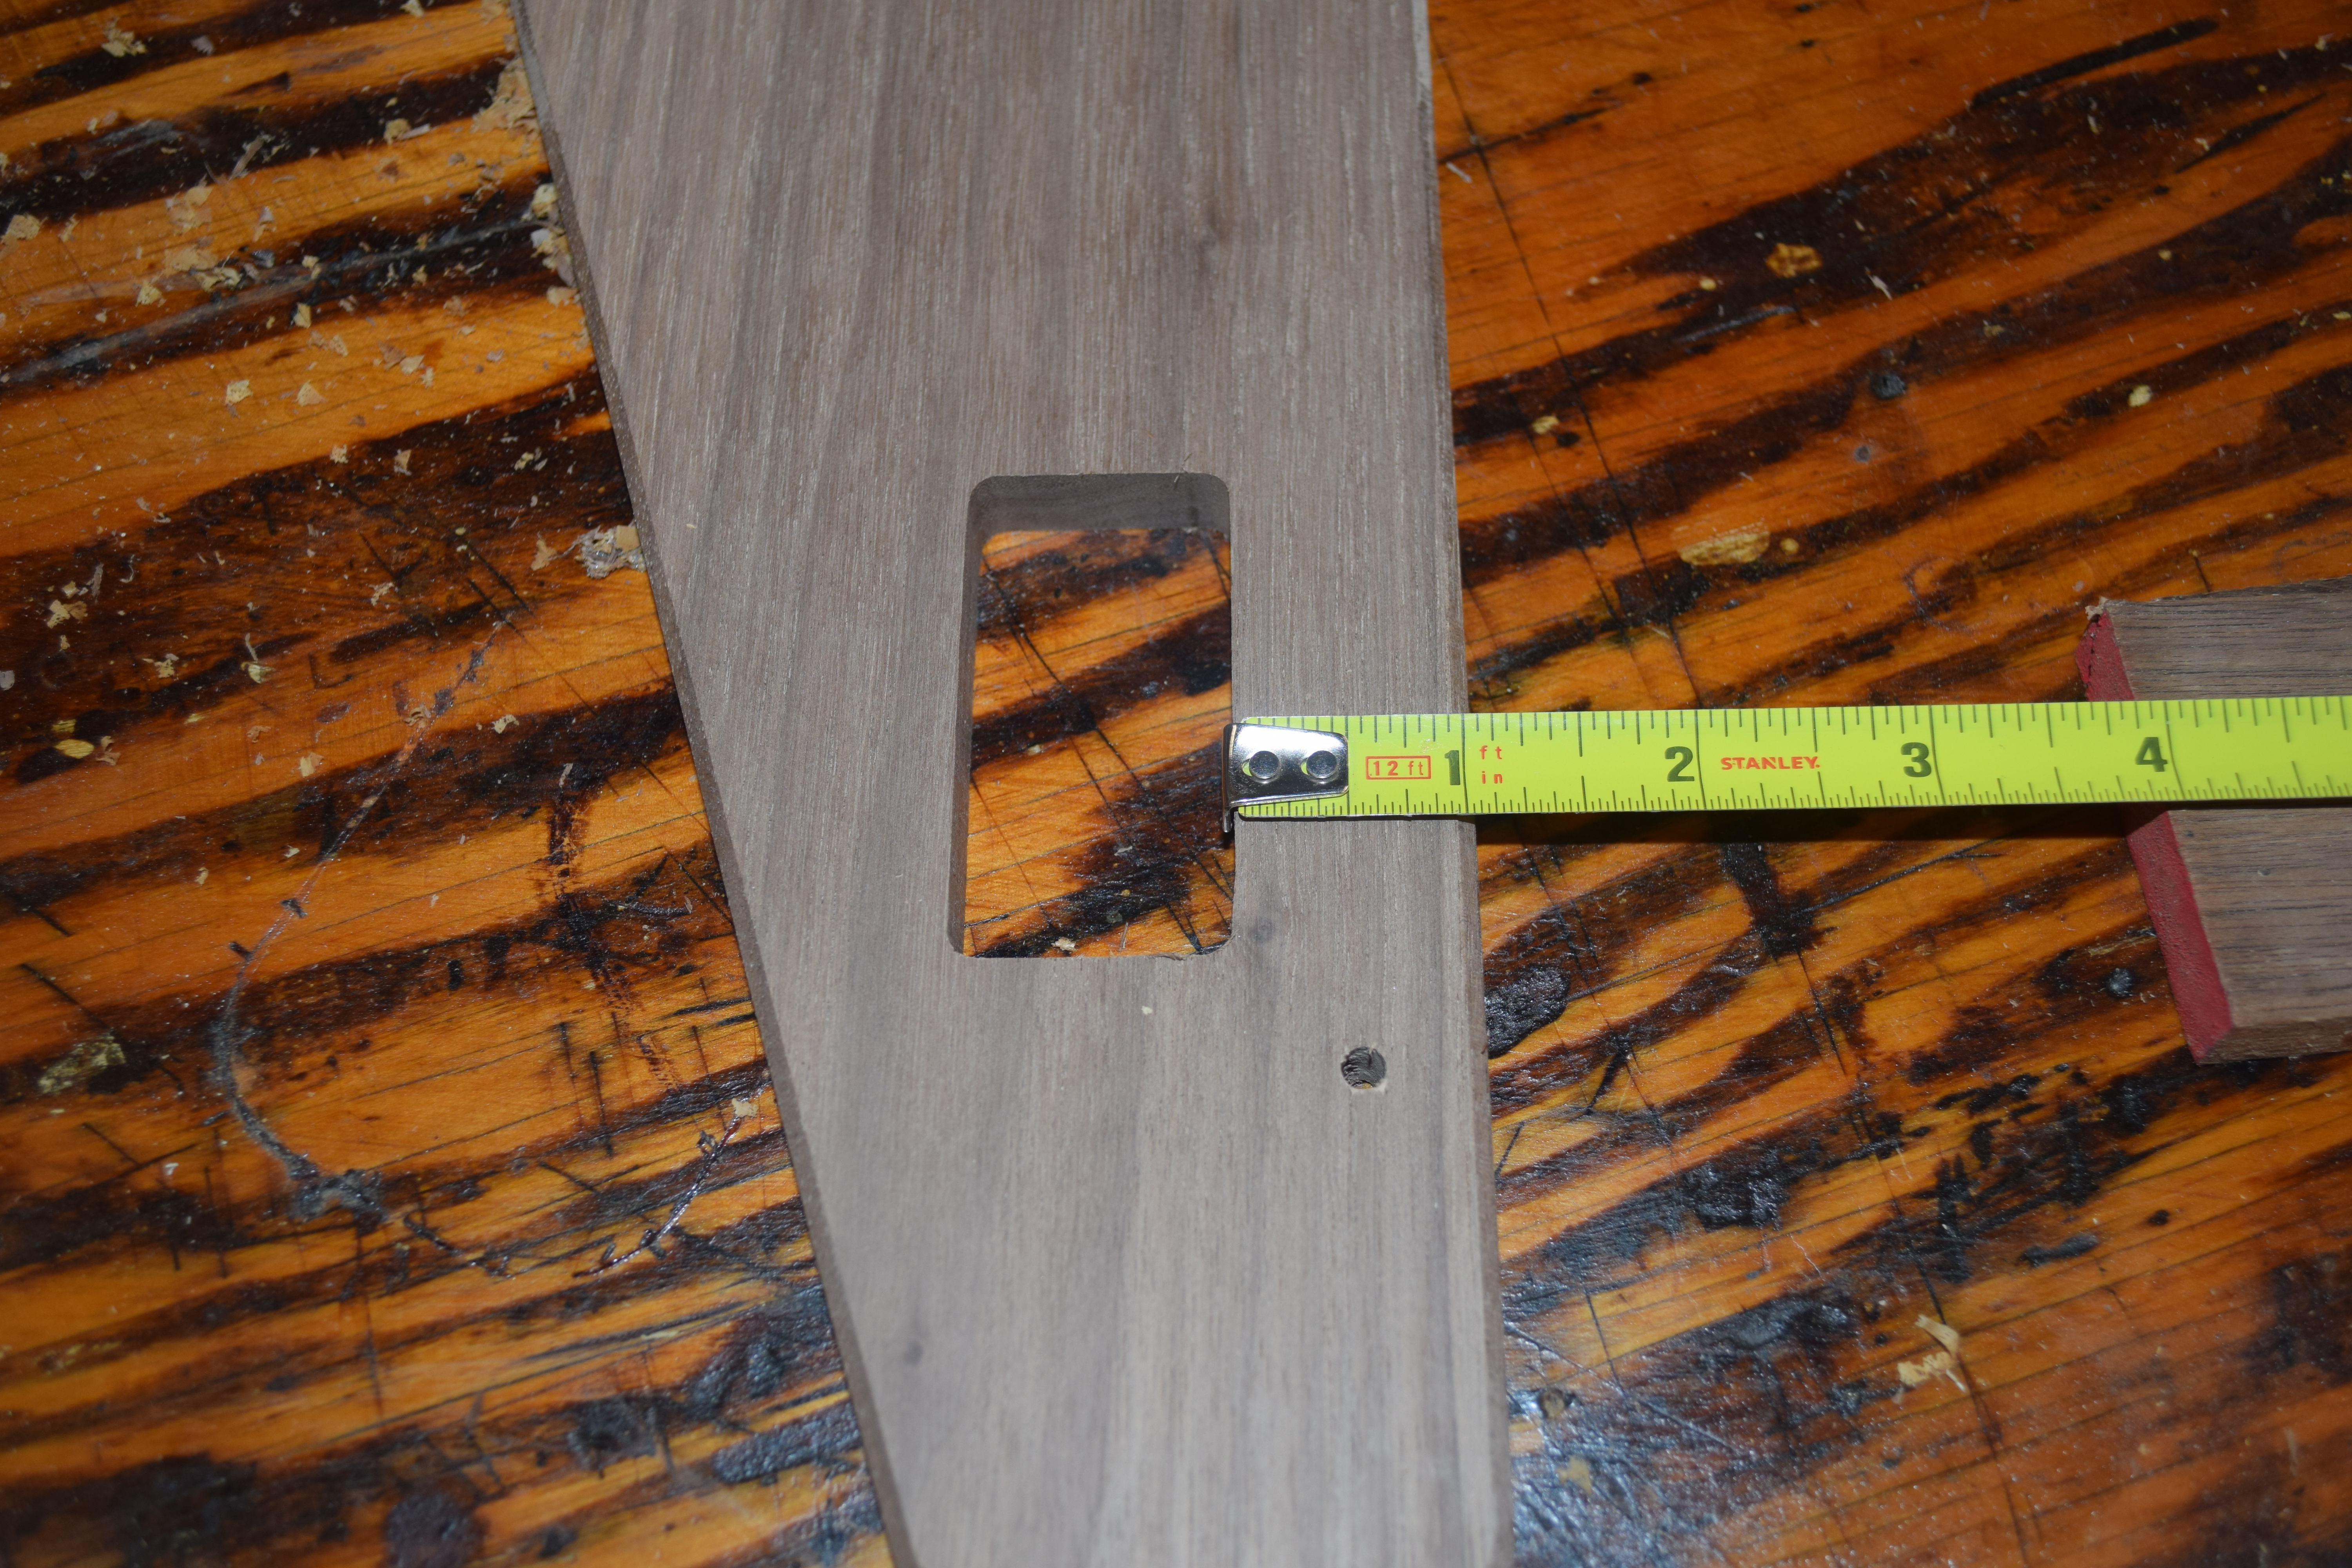
The lower edge of the cutout should be 1 inch (25 mm) from the bottom edge of the panel
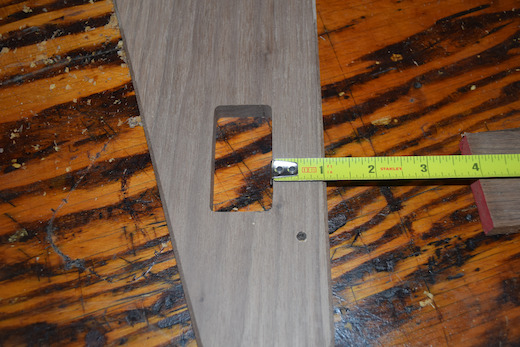
and 1 3/16 inch (30 mm) tall.
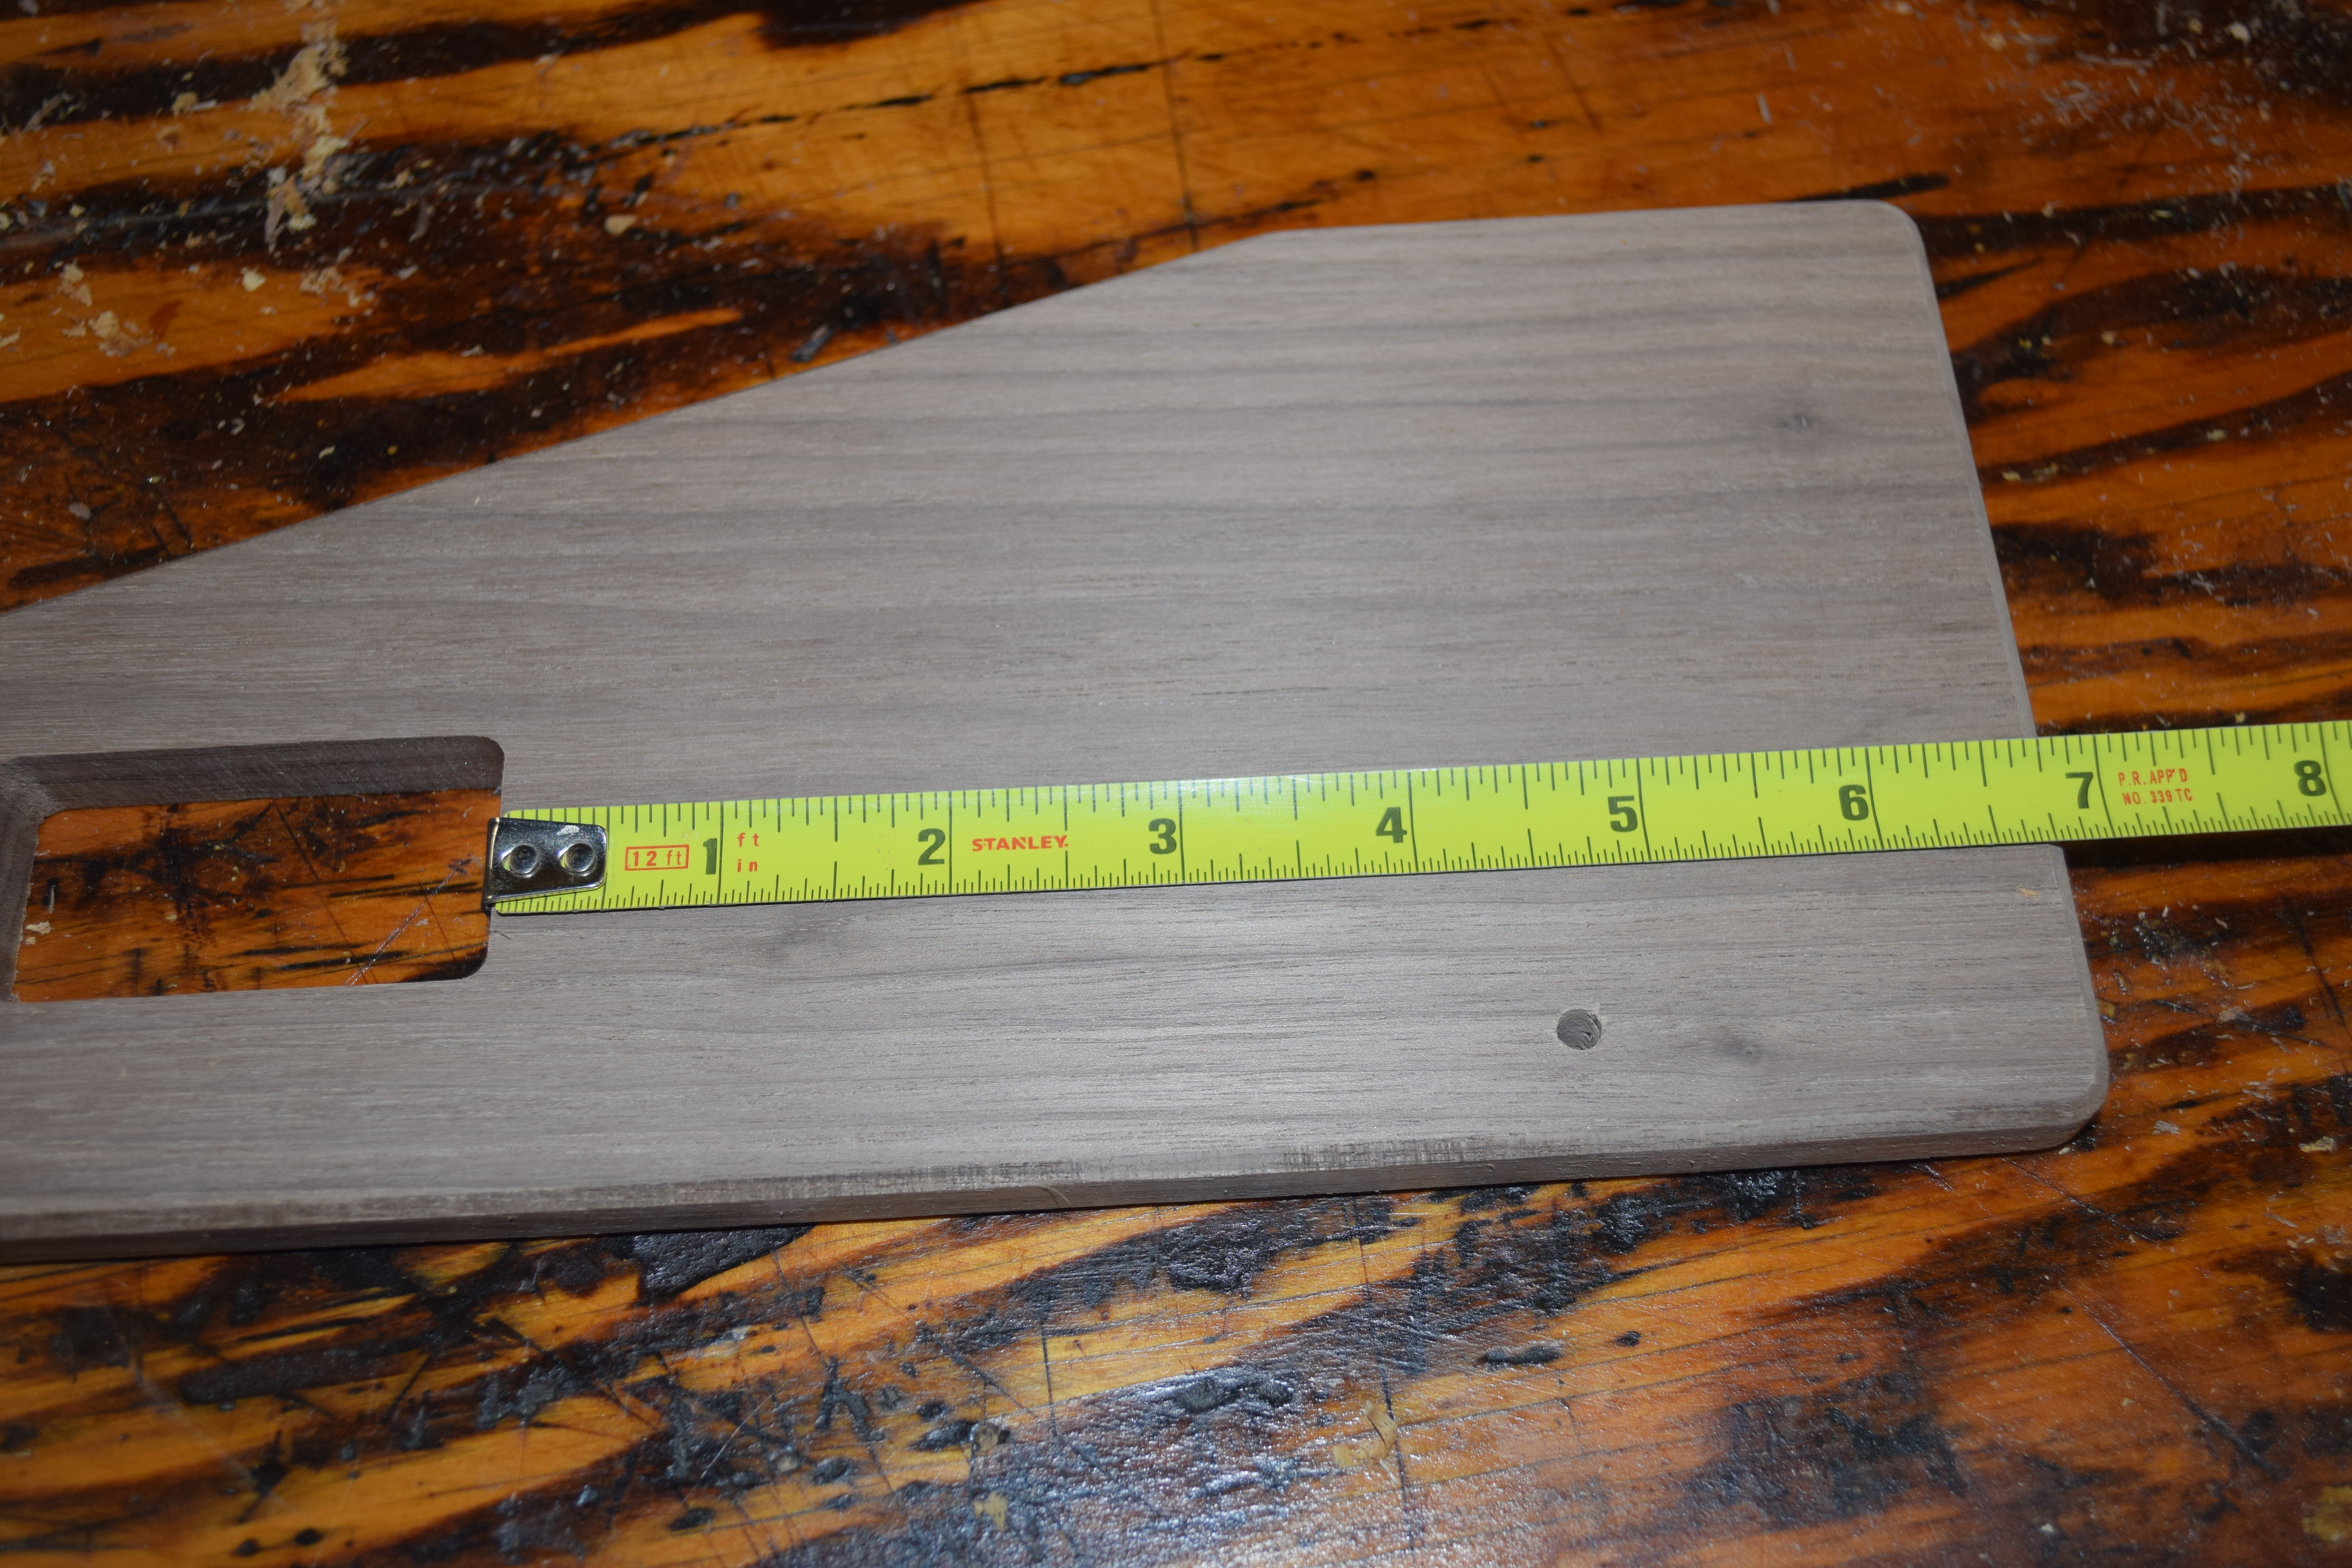
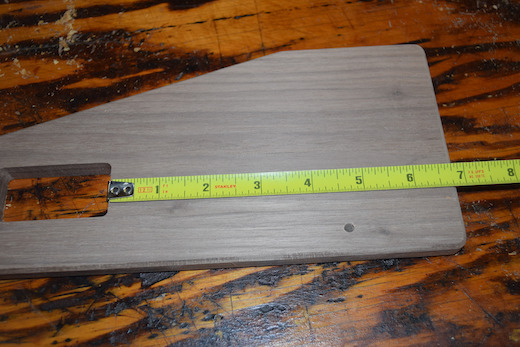
The right side of the cutout should be 6 3/4 inches (171 mm) from the back edge of the
panel
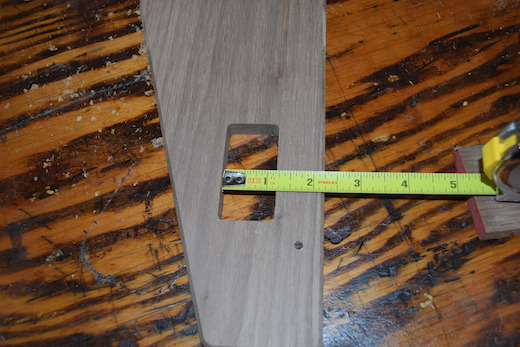
and 2 3/8 inches (60 mm) wide.
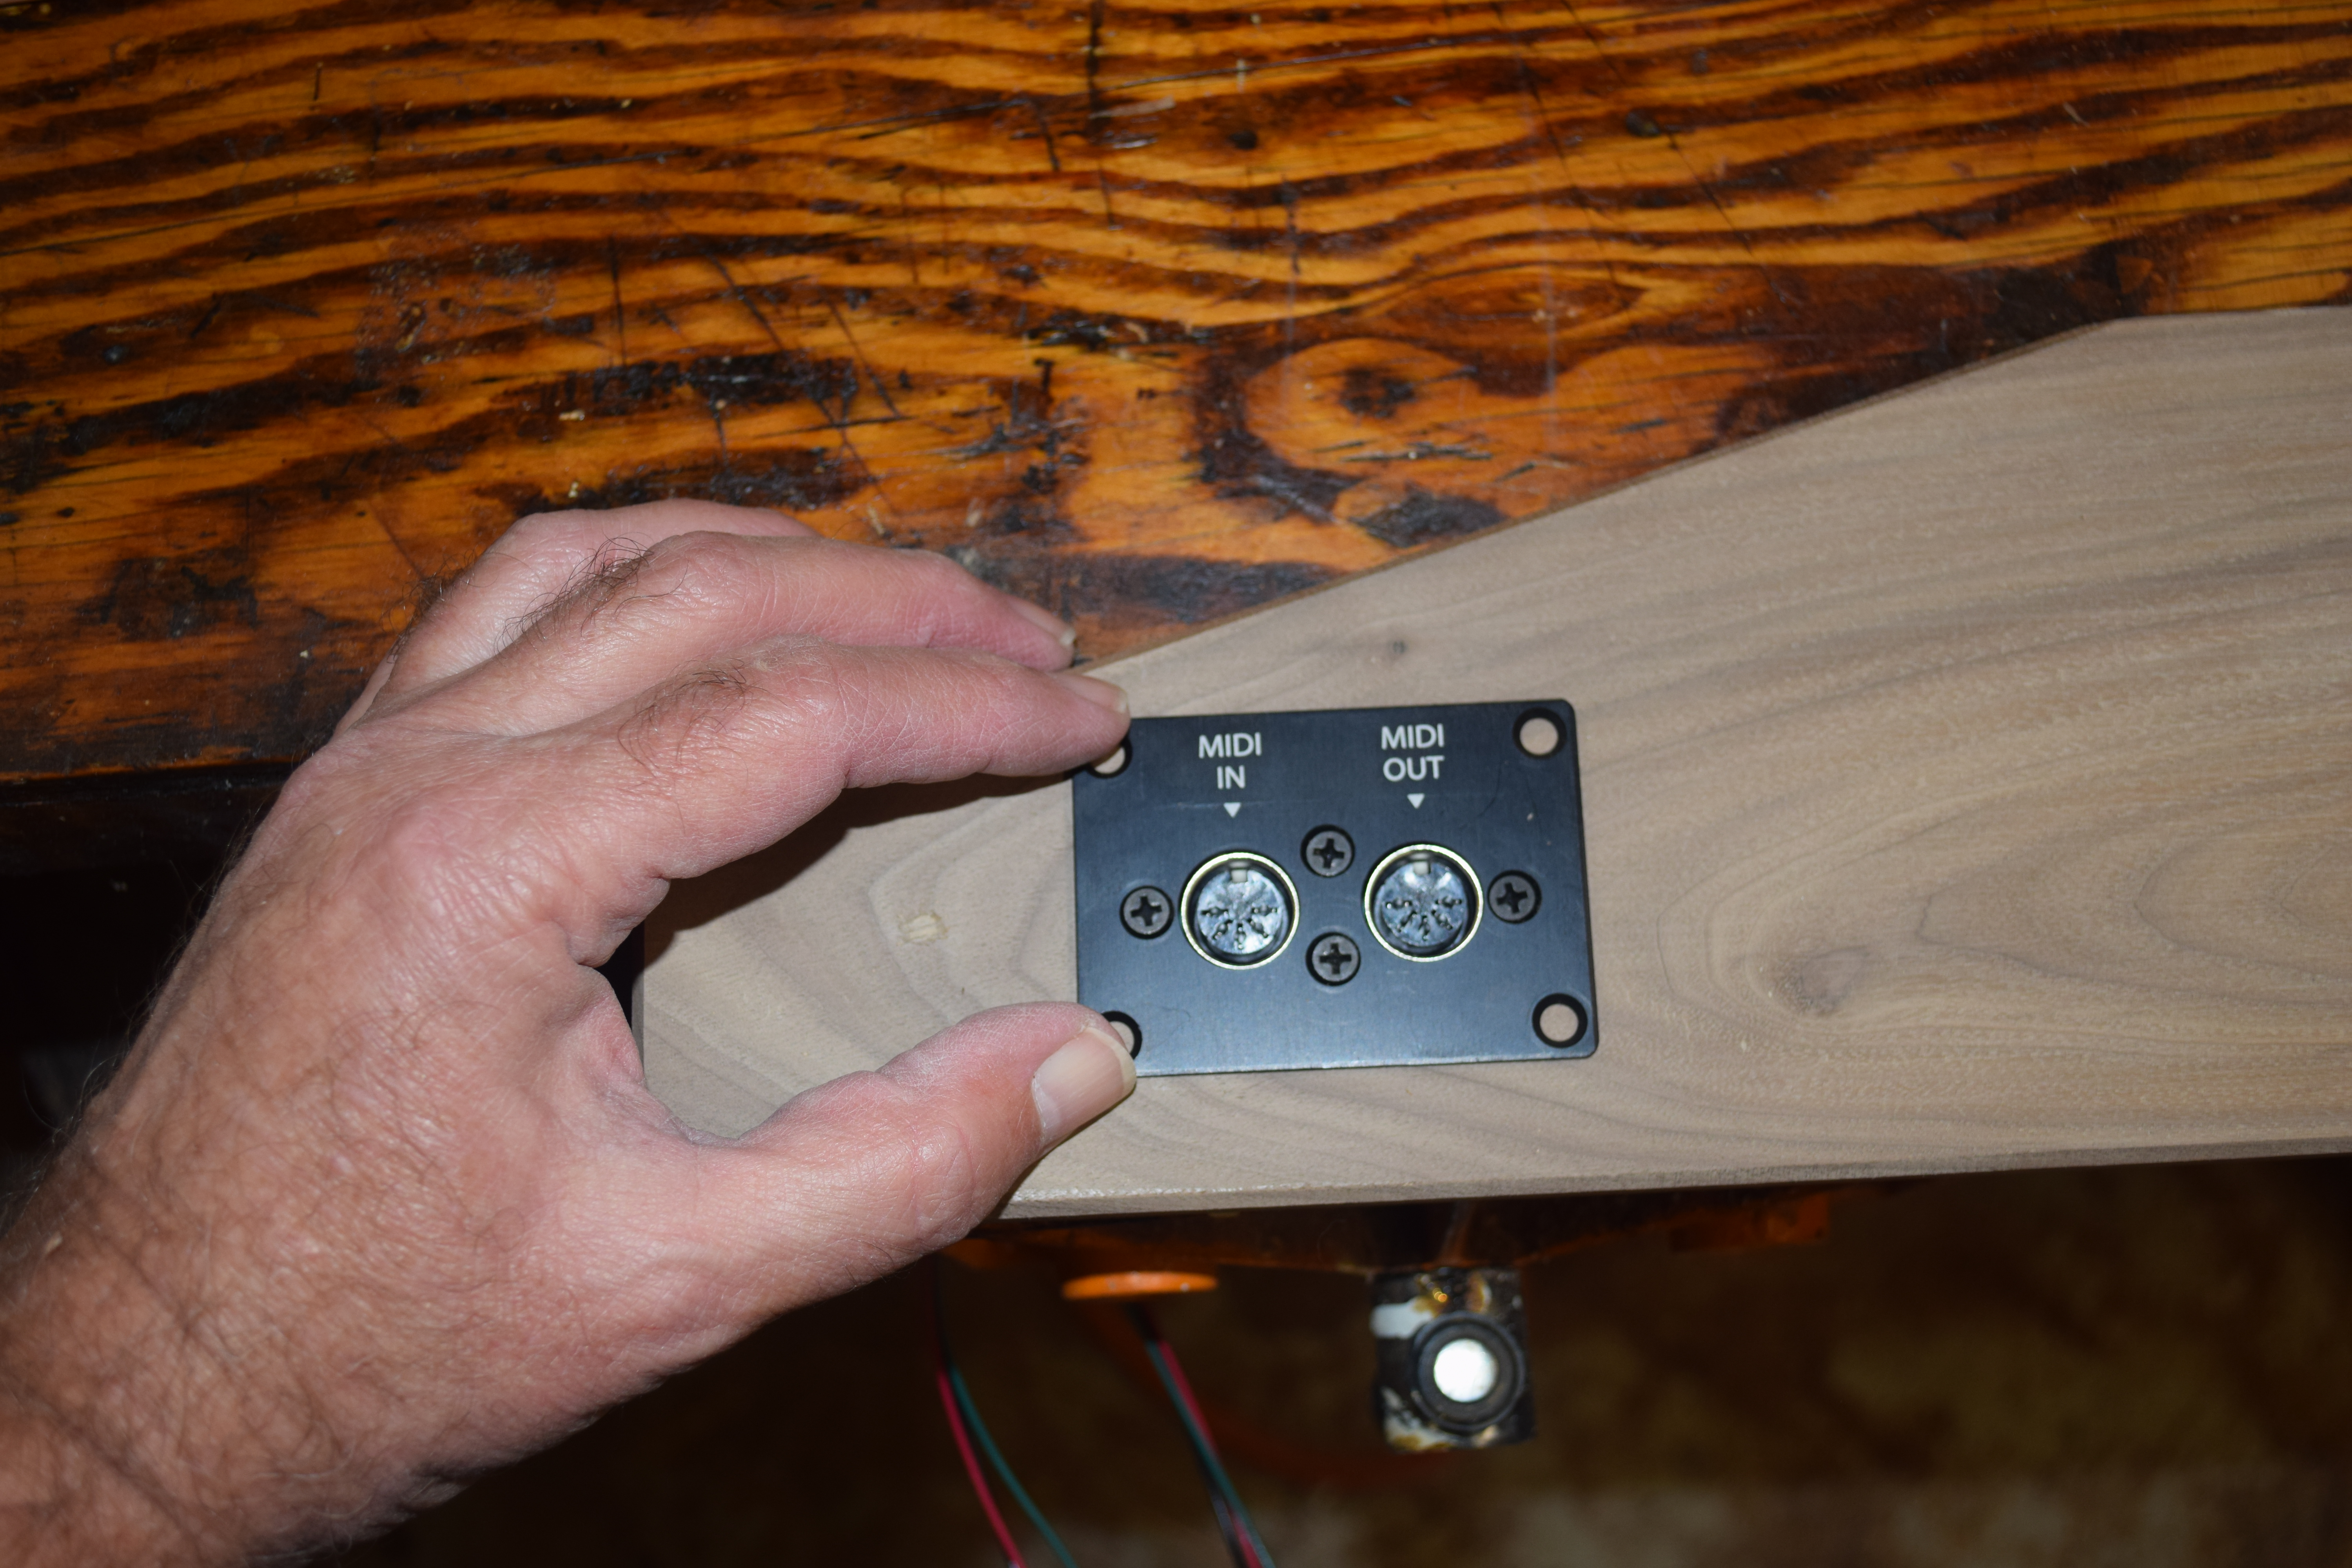
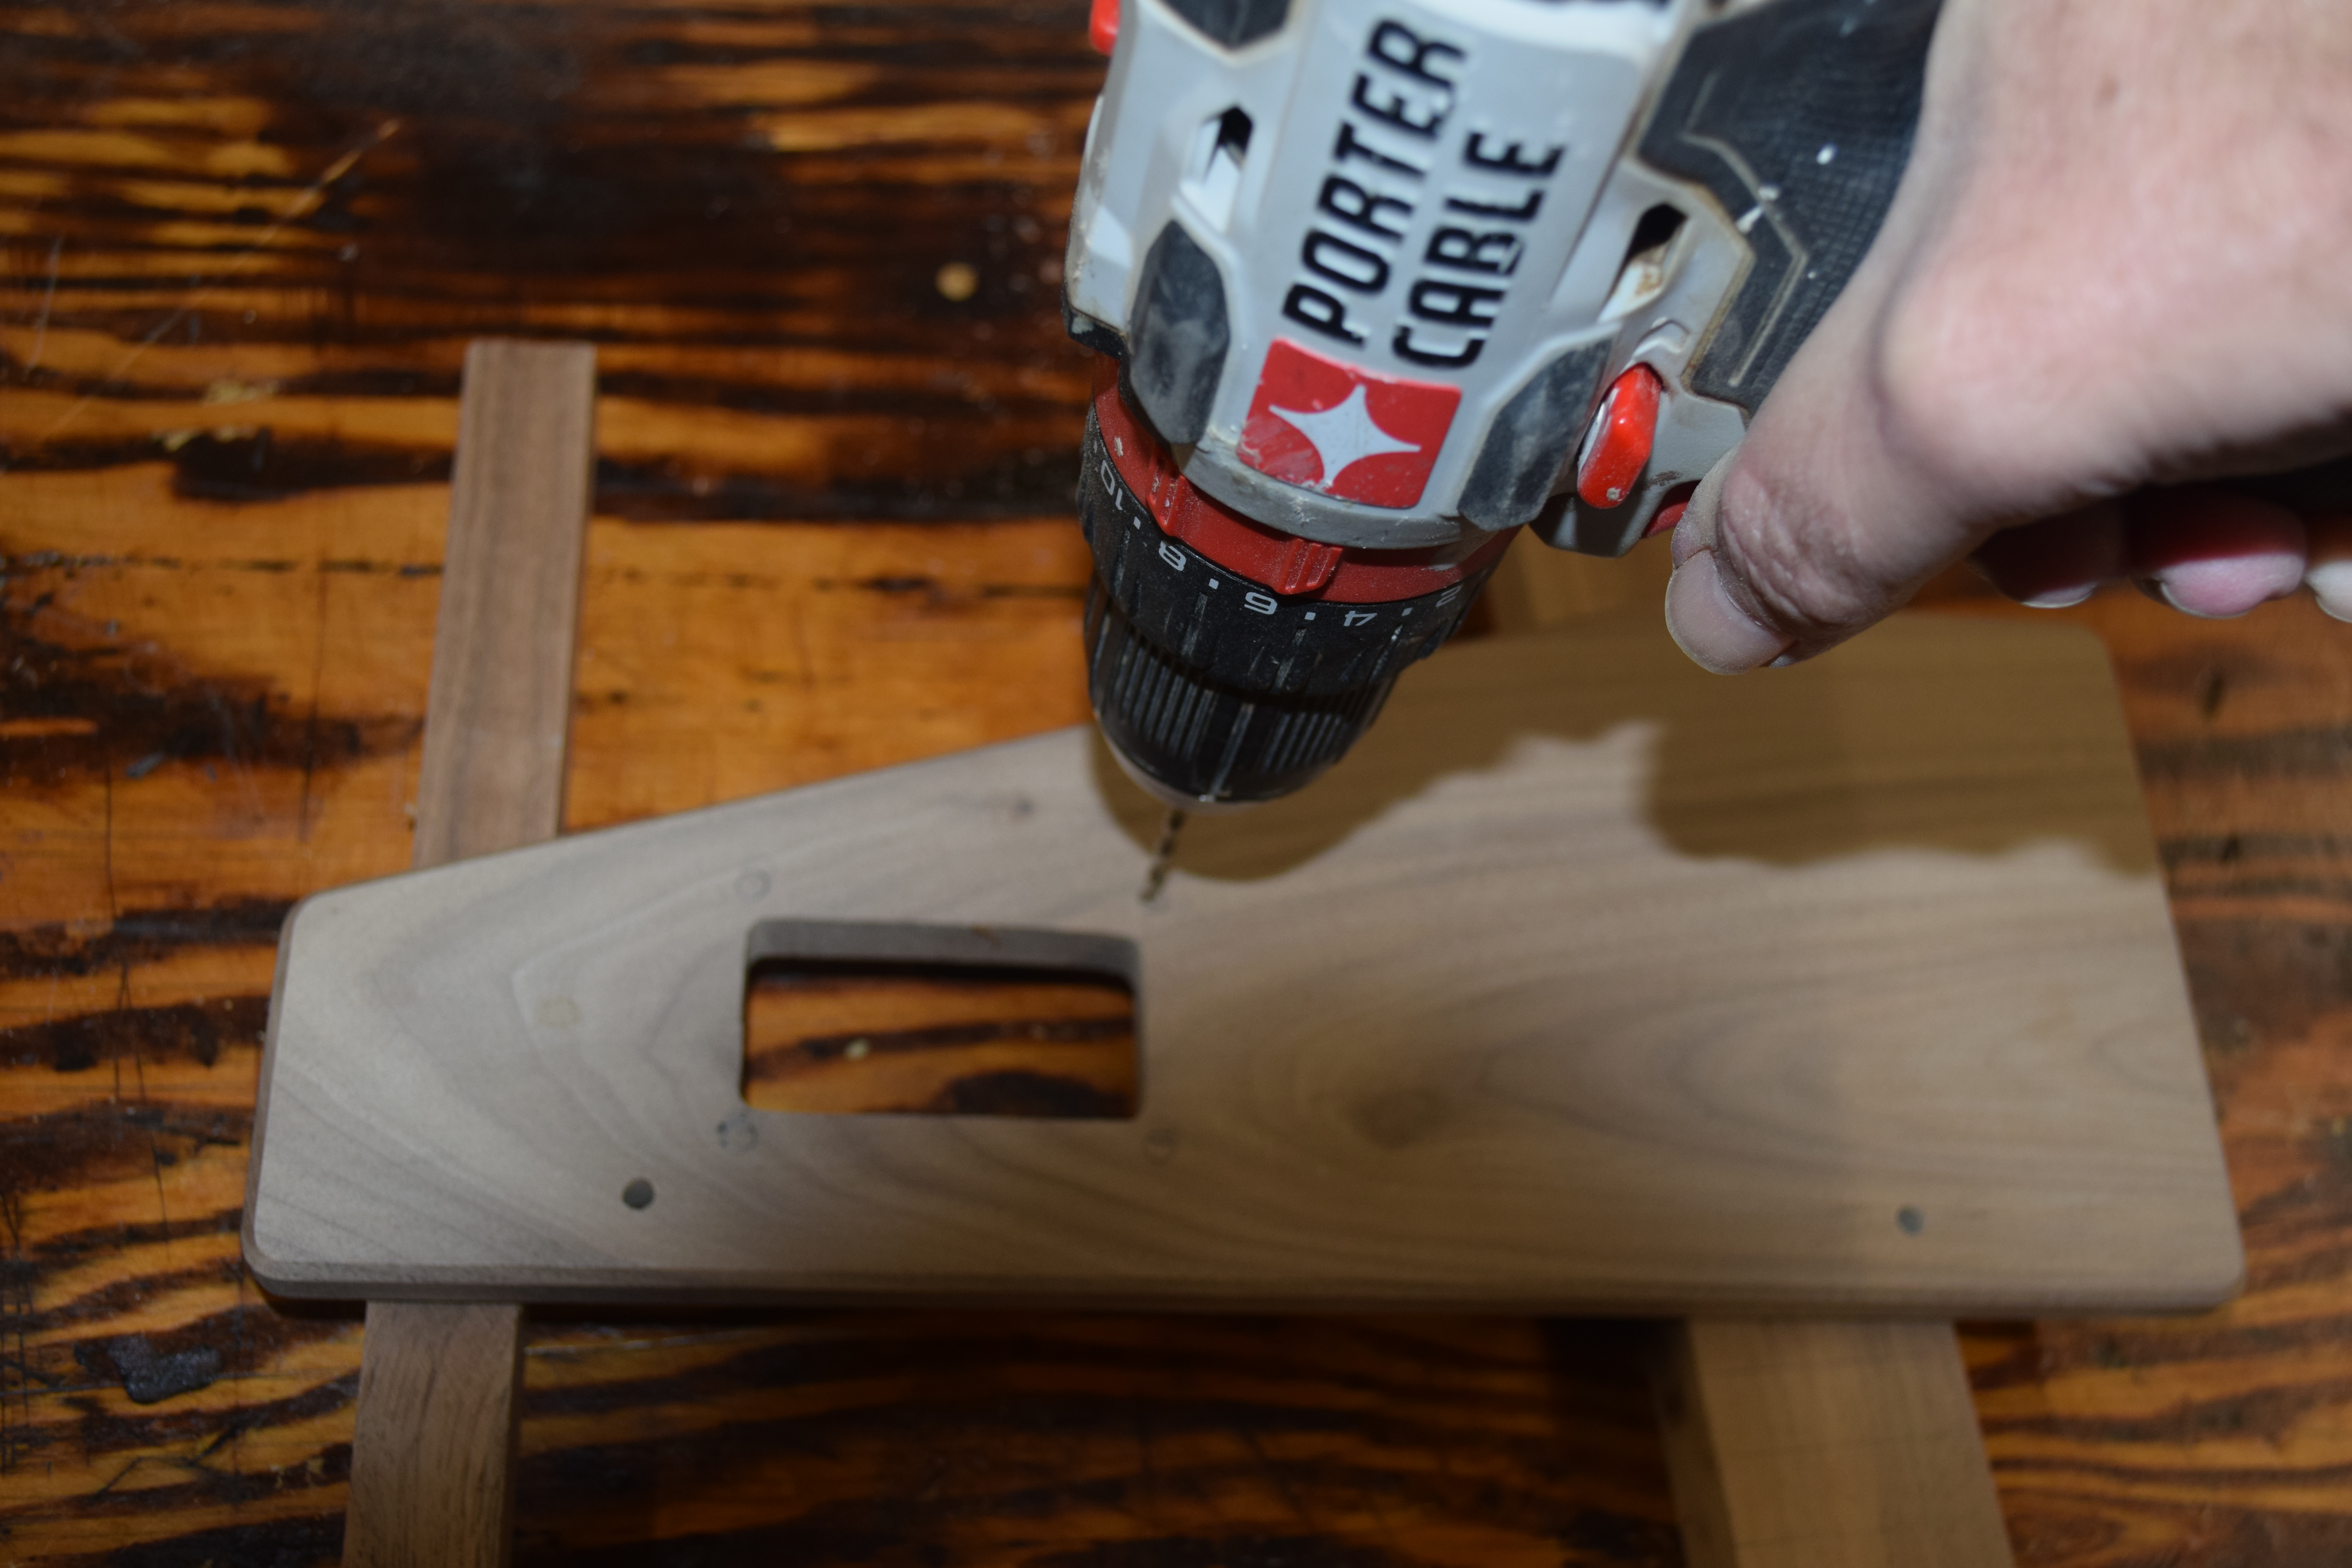
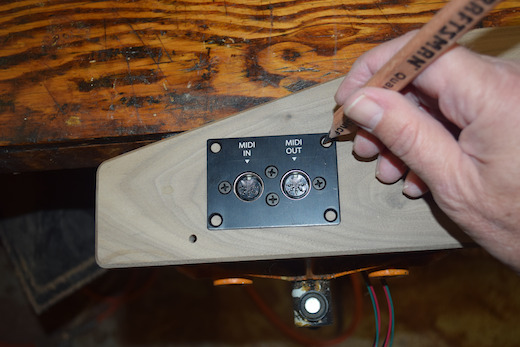
- Use the MIDI jack plate as a marking guide to mark the position of the mounting holes. Be
sure to align the plate evenly with the bottom of the panel.

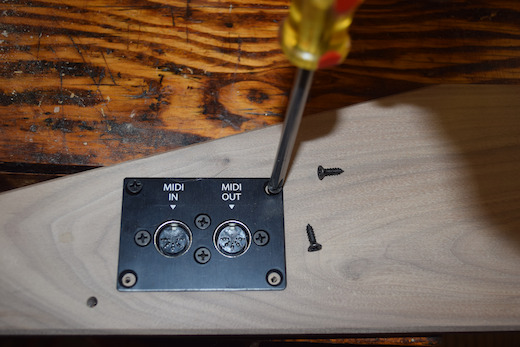
- Use a 7/64 drill (2.8mm) to predrill the holes for the mounting screws.

- Attach the jack plate using the screws provided.
-
Reattach the panel to your drum machine.
For further assistance, contact Electrongate by email.