Repairing a DMX button with a bent contact spring
Process
- First, you will need to unsolder the switch from the circuit board.
Use solder wick on the solder pins to clean off any excess solder.
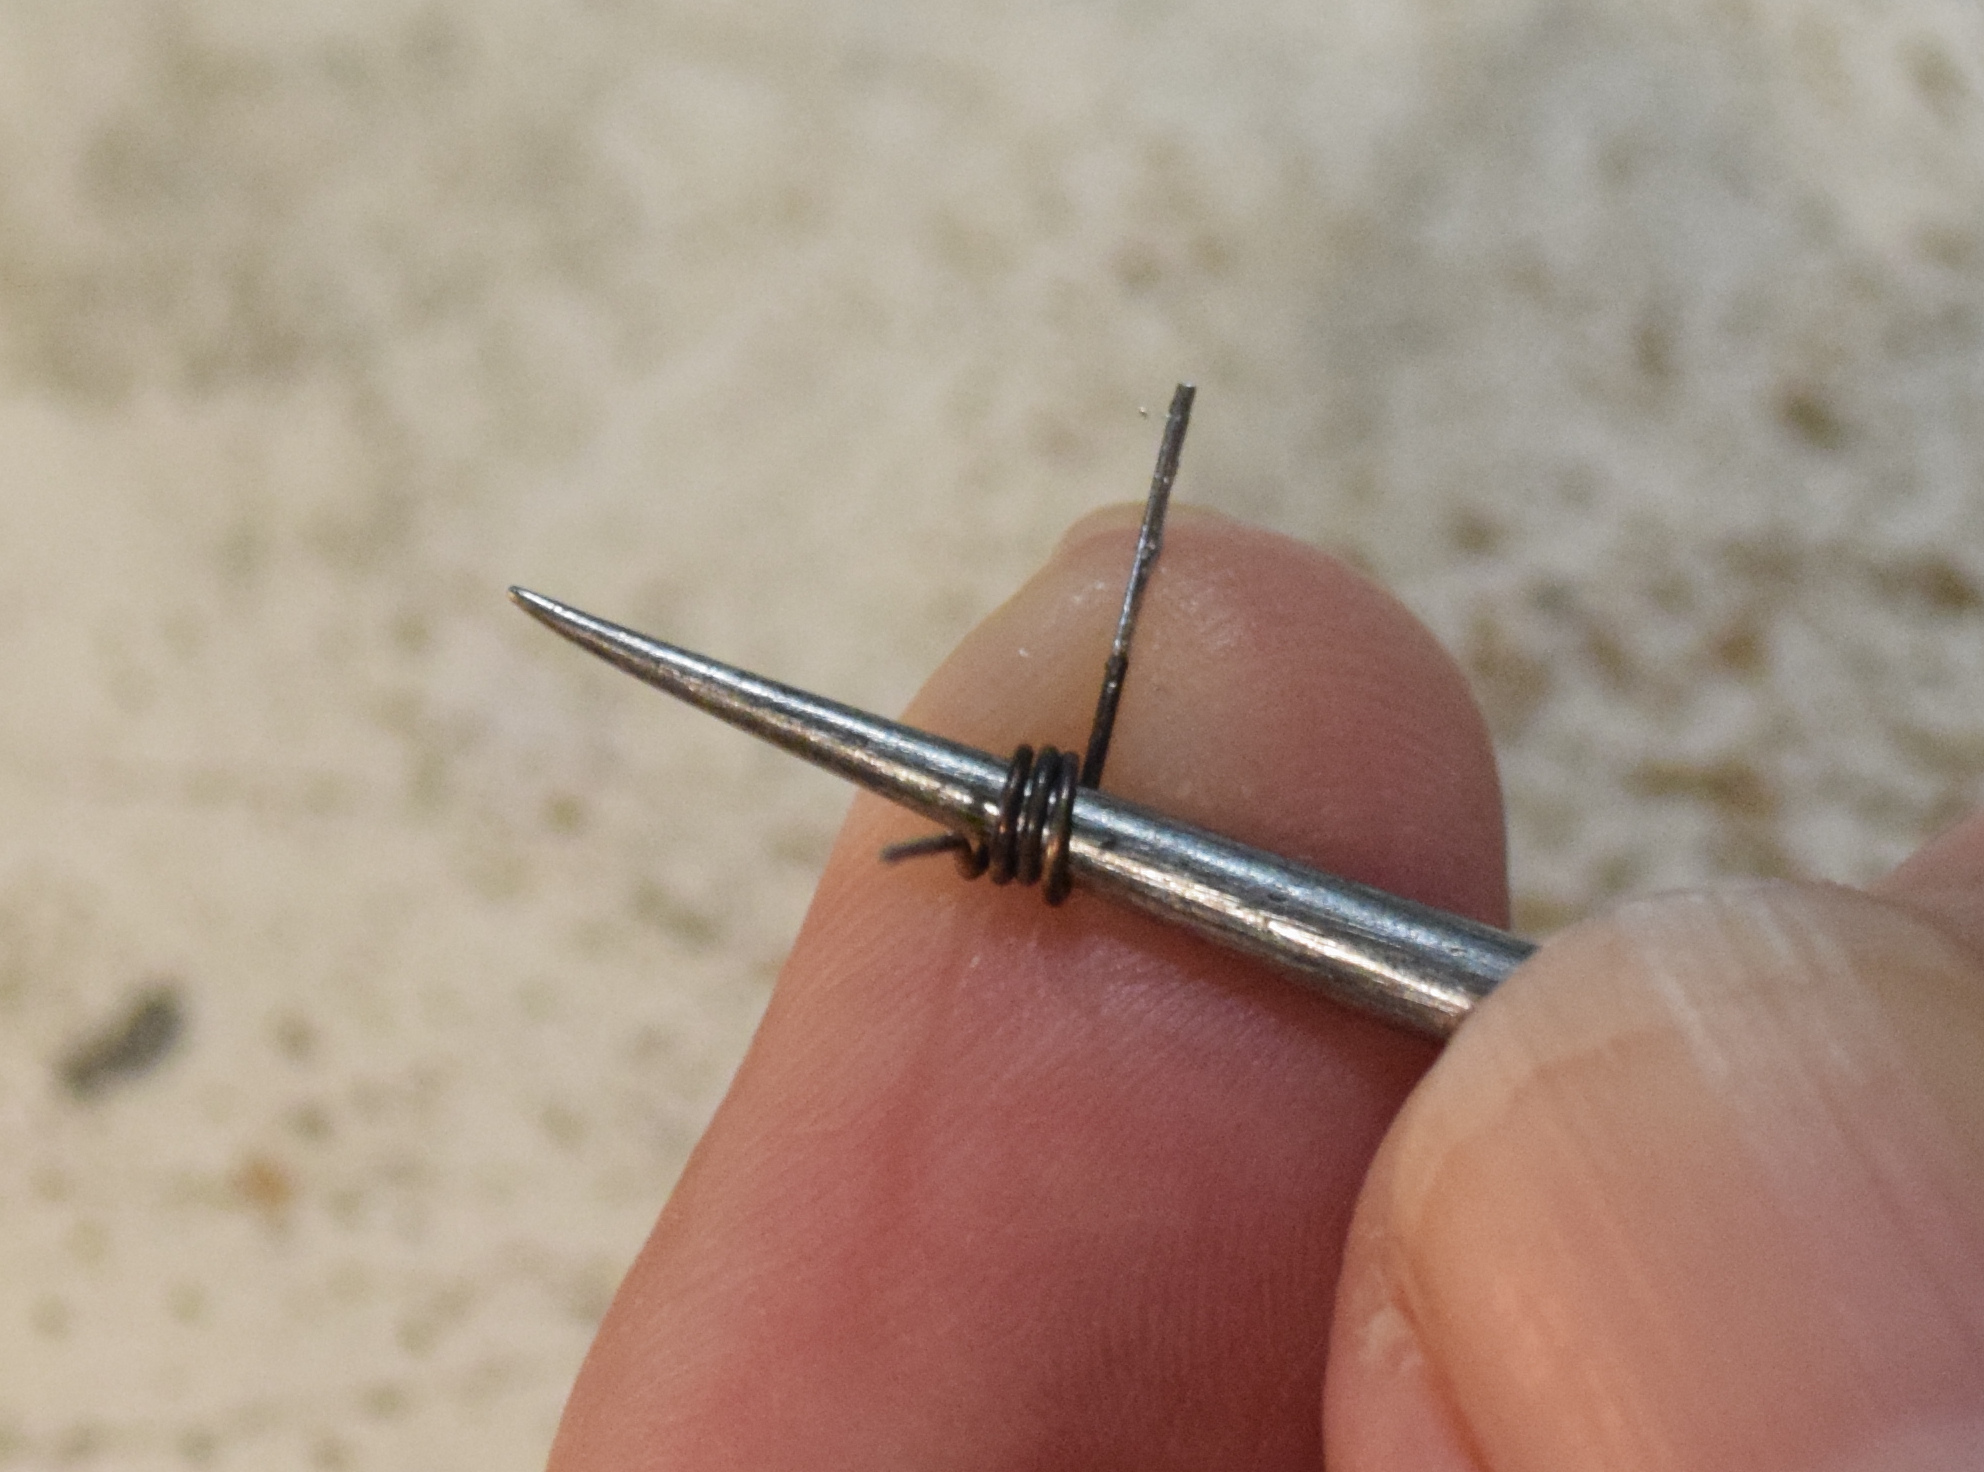
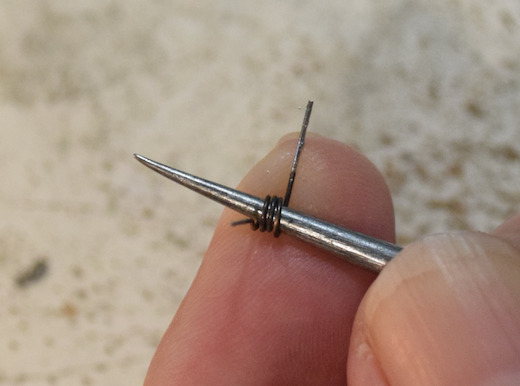
- Now remove the contact spring (the horizontal wire with a coil spring
in the middle). I use a round pointed tool, as shown below, to gently
lift the spring straight up from inside the coil part. See my YouTube video for a
closer look at how this works.
-
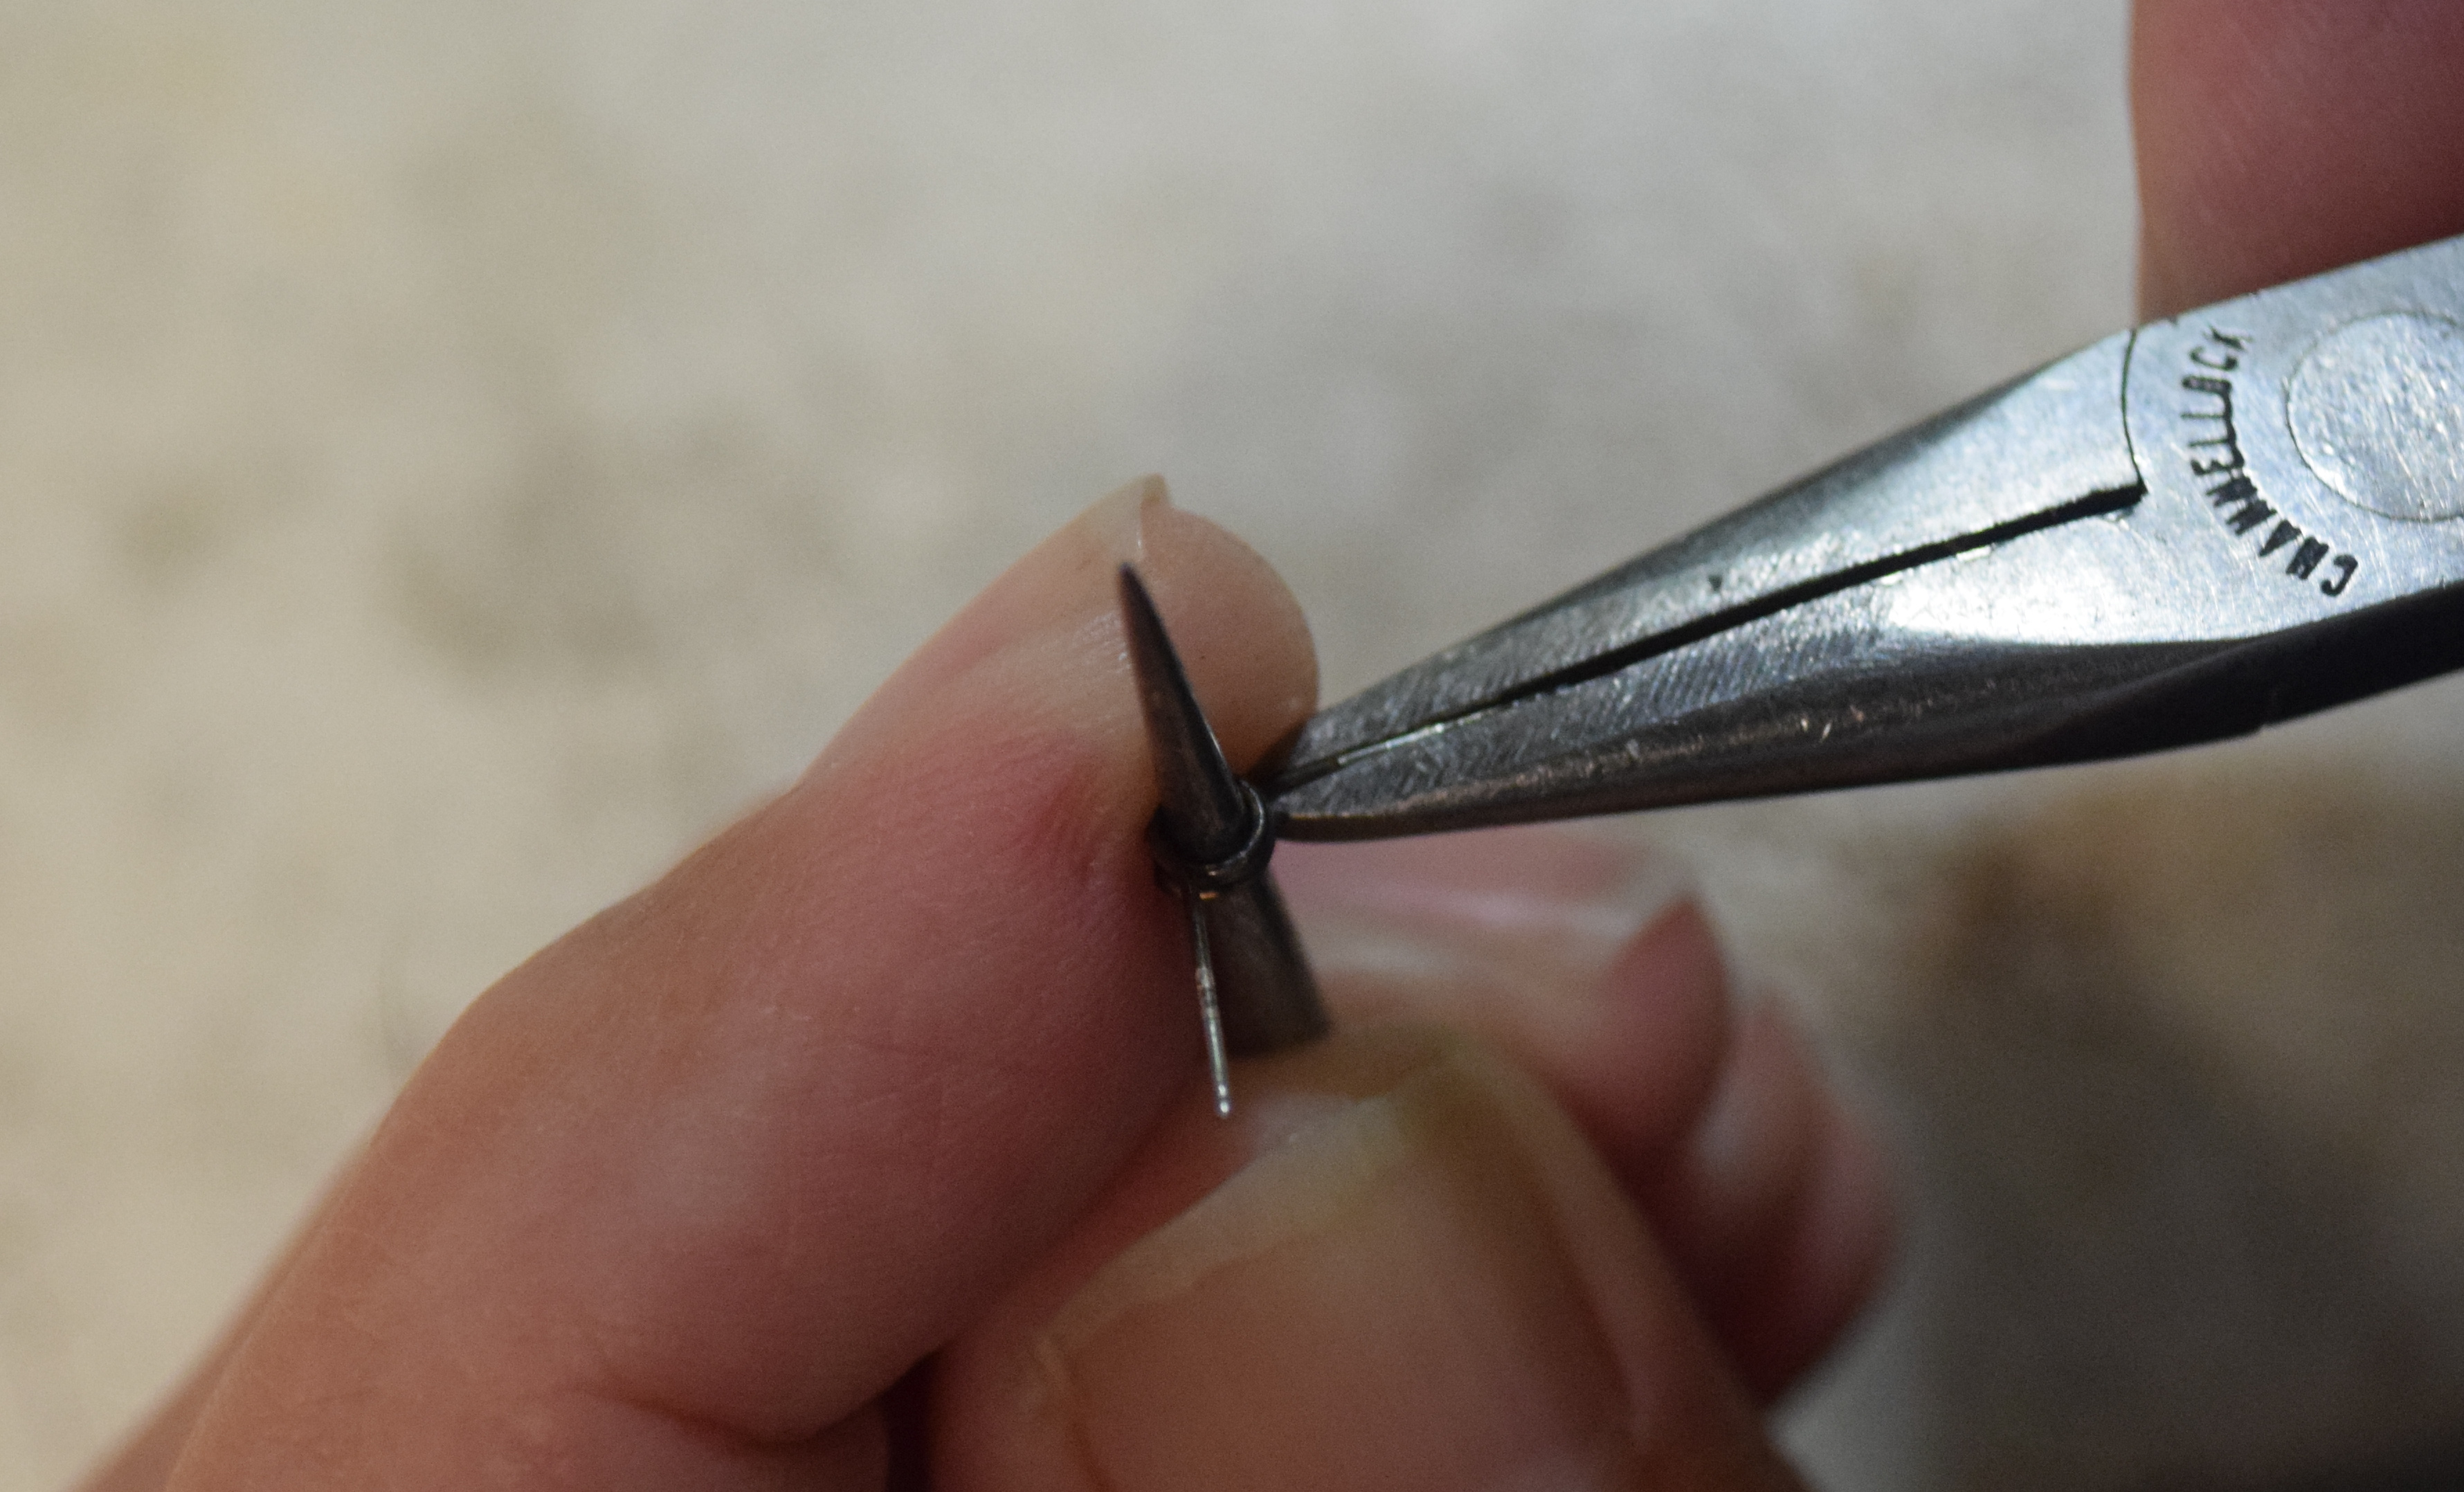
Inspect the spring and use a pair of smooth jaw, long nose pliers to
straighten out any kinks or unwanted bends.
-
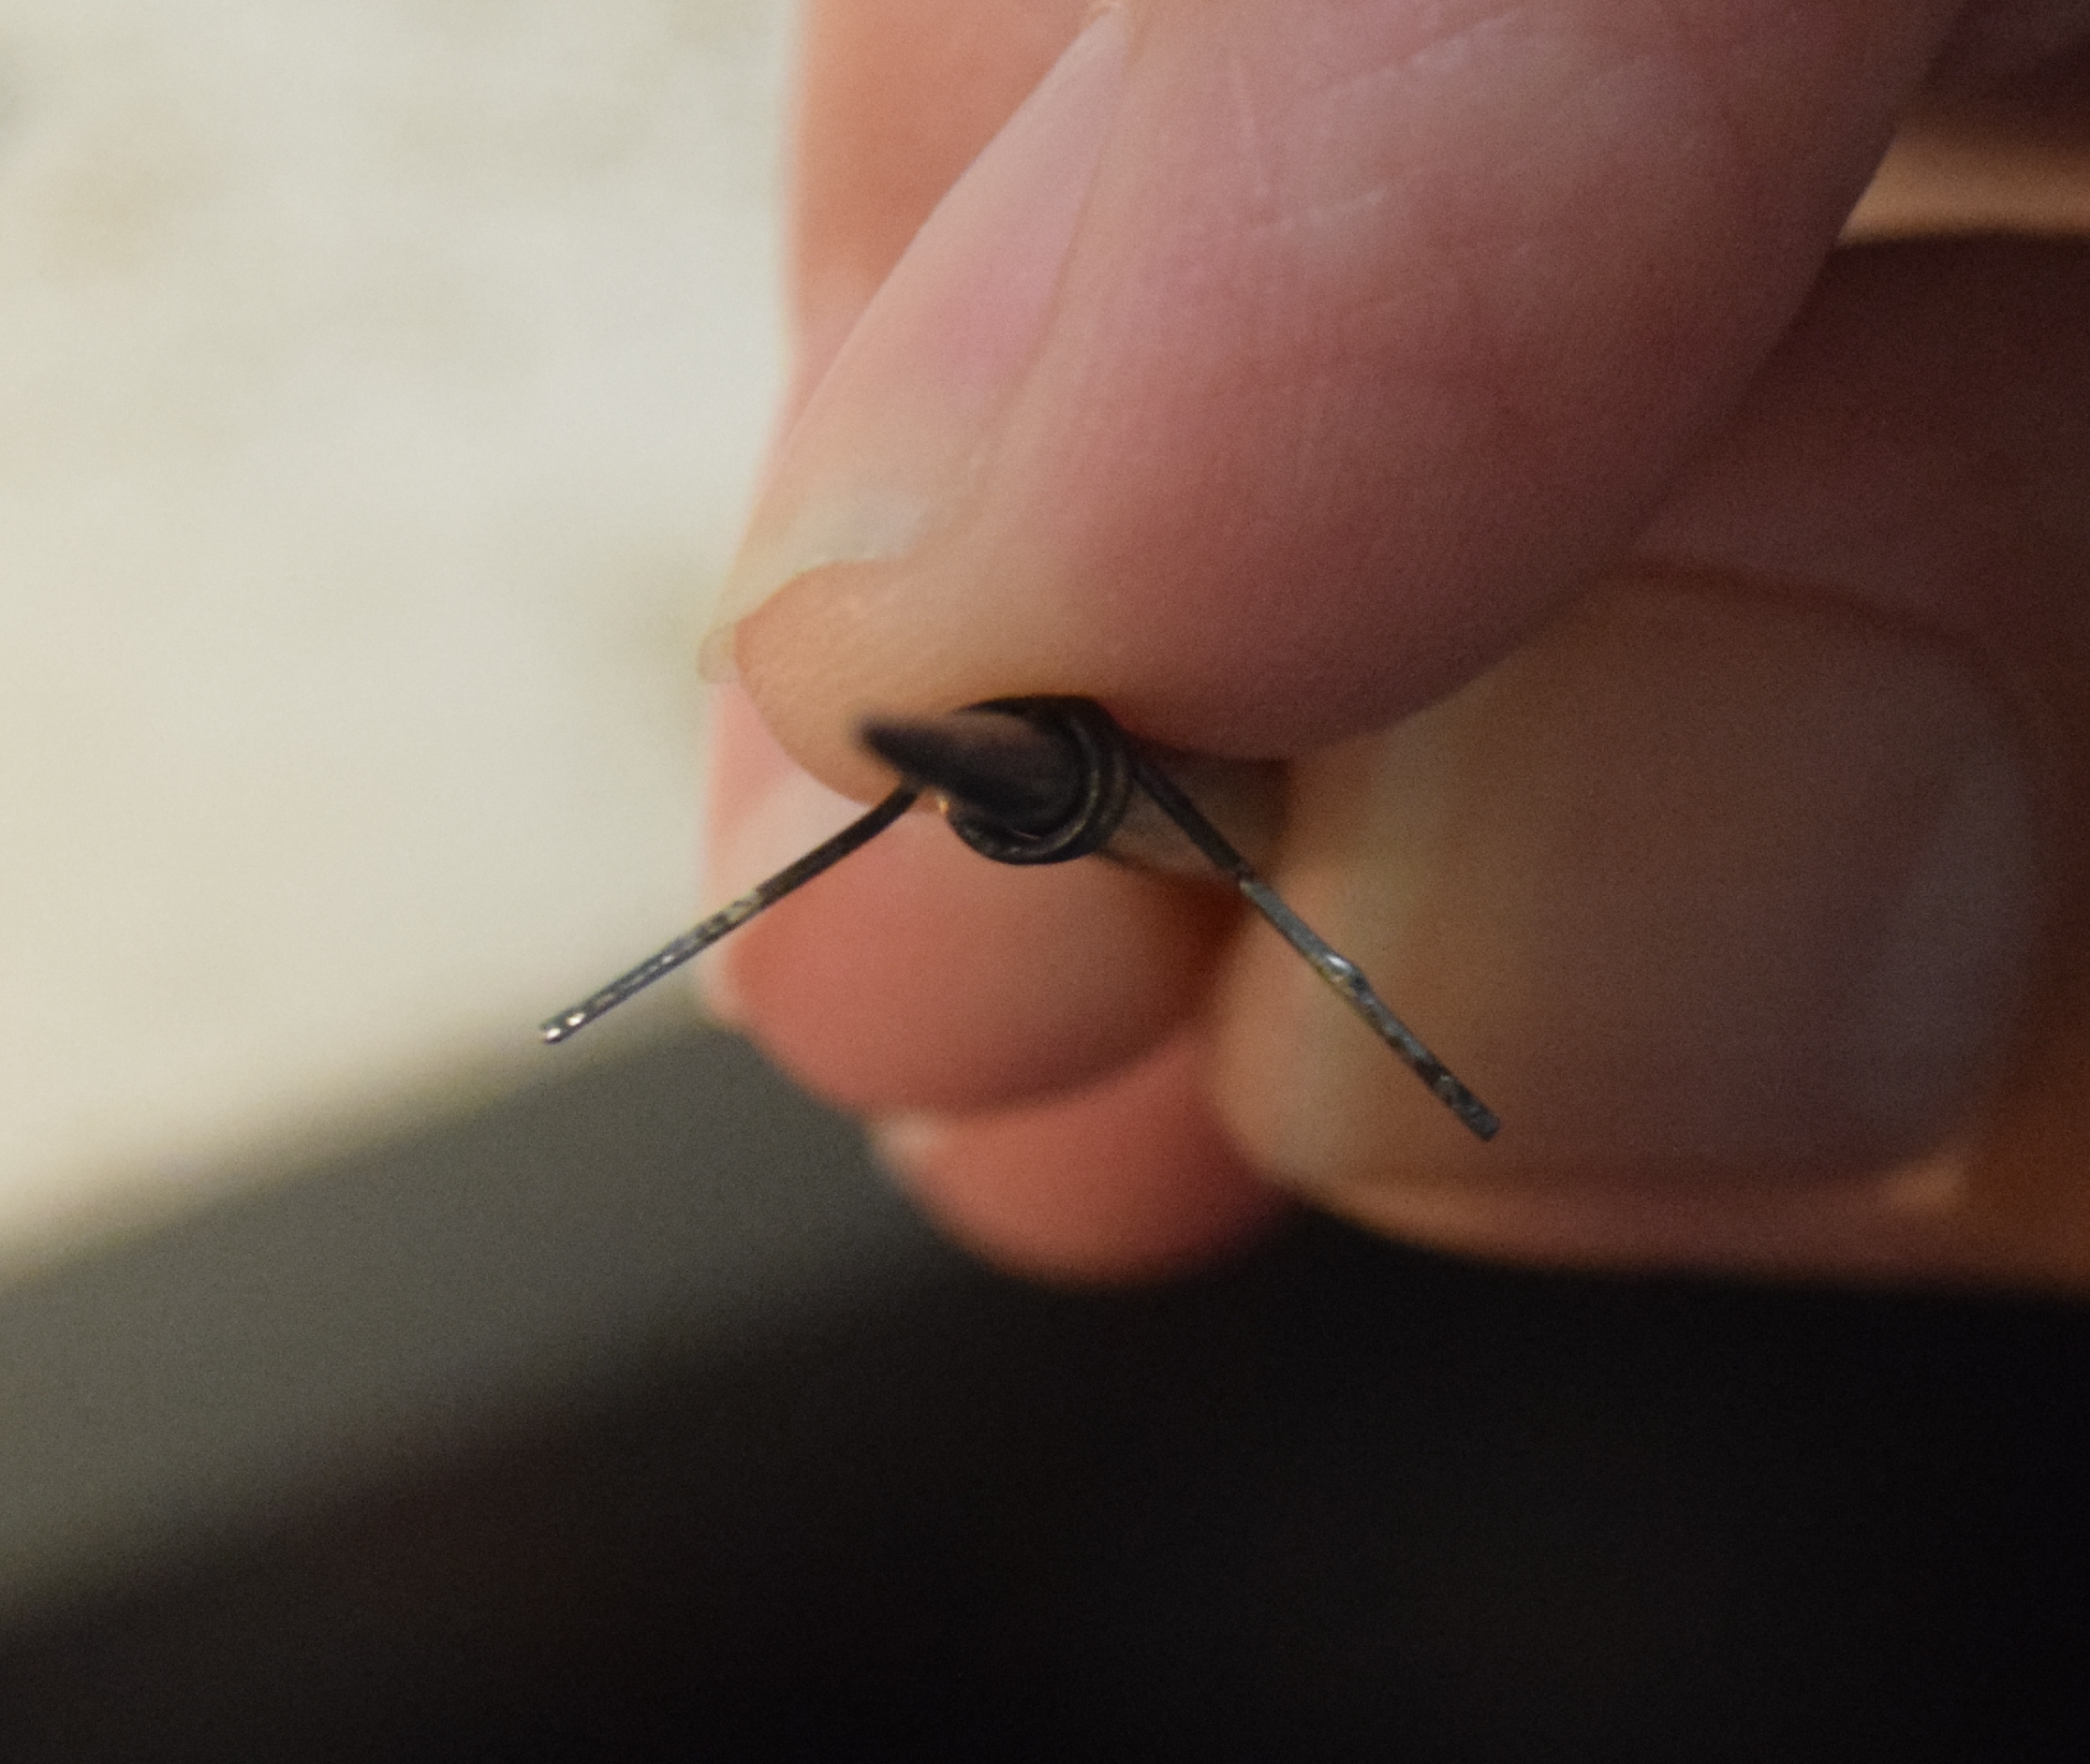
In this example, the spring angle is too great, opening wider than 90
degrees. The angle should be less
than 90 degrees, ideally about 60 degrees.

-
Use the pliers, the round tool and your fingers to reshape the spring.

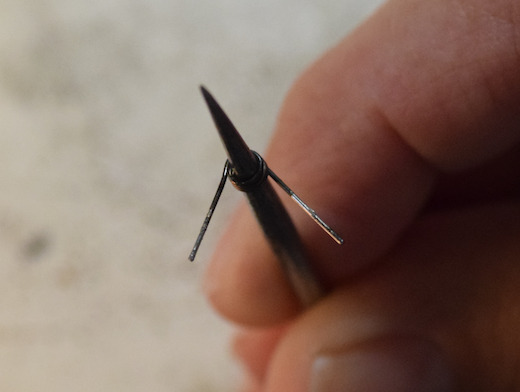
Be sure that the straight parts of the spring are tangent to the coil.
This is important, and will help in replacing the coil spring into the
switch body.
- While you have the spring out of the switch body, now would be a good
time to make sure the under side of the contact wire is clean and shiny.
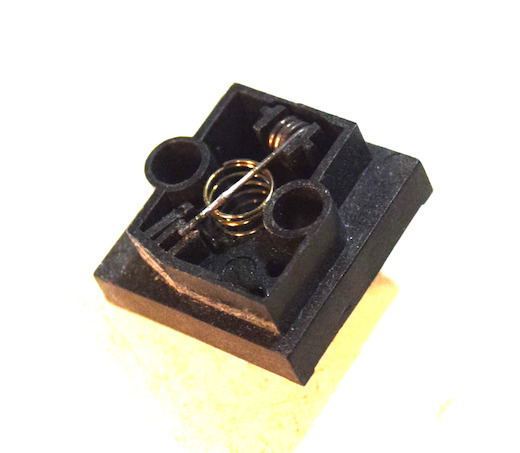
- Replacing the spring into the switch body is the most difficult part
of
this process, and may require some practice. Using the round tool to hold
the spring, guide the lower straight wire into the switch. (Don't
mix up
the contact side with the lower solder side. You can usually tell them
apart because the contact side should have no signs of solder).
All the while, keep the contact wire just under the "cage" that
prevents the contact wire from springing up too high, and keep the long
coil spring in place under the horizontal contact wire.
The solder side of the spring needs to go into the very small hole
that will put it in the correct position to keep the switch oriented
properly when it is soldered back to the board. There is a larger opening
in the bottom of the switch, and the spring wire should
NOT go into this
hole.
It may help to position a bright light below the switch to help see
the small hole. Once you get the wire started in this small hole, you can
remove the round tool and press the coil back into position. It should
snap into place easily and the solder wire should be protruding from the
small hole on the back of the switch body by about 4-5 mm.
- You can test the operation of the switch before reinstalling it with a
continuity tester, pressing down on the sides of the long coil spring
(without touching the contact wire). If all is well, you can solder the
switch back in place.
For more information, contact Paul White.